4 minutes
Getting Organized
Life has officially gotten in the way of this blog. Increased load at work and
the birth of a second child will do that I guess. In order to combat my lack of
free time I’ve decided to get organized, and what better way to do that than
with org mode.
I use org-capture to capture any personal or work related tasks or notes,
even entries to this blog (rarely…). I won’t cover org-capture in this post
as there is already plenty of great material about it online. The problem I’d
like to tackle with this post is that org-capture works great when I’m at my
desktop, but what about when I’m out and about on my phone?
Orgzly to the rescue. Orgzly is an excellent org mode-centric Android
application, with which you can create notes, schedule tasks, set reminders,
etc. The problem is that it only allows syncing of notebooks (.org files) by
one of three methods, namely: Dropbox, Weaved or a local directory. Seeing as
I didn’t fancy the first two options, only option number 3 remained. For this
one tool came to mind, Syncthing. Syncthing is an open source continuous
file synchronization program, think rsync but more user friendly and more
easily cross-platform.
To install syncthing follow the installation instructions for your OS on their
website, or if you’re on Arch Linux install the package from the Extra
repository.
pacman -S syncthing
Next, enable and start the syncthing systemd service.
$ systemctl --user enable --now syncthing.service
Created symlink /home/odin/.config/systemd/user/default.target.wants/syncthing.service → /usr/lib/systemd/user/syncthing.service.
To configure syncthing, it’s easiest to go to the web interface, which is
accessible at http://localhost:8384/ by default. From there, enter the path of
your org folder, give it a label, and optionally a different ID.
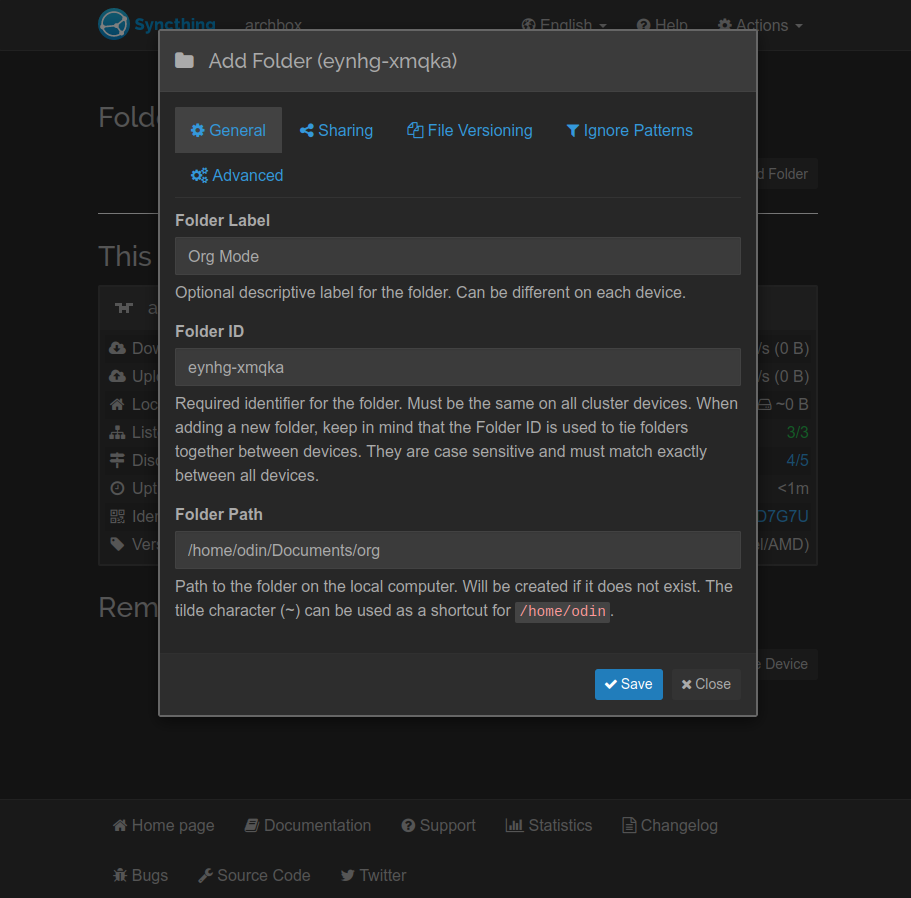
Figure 1: Add your local org folder.
Once you click save your org folder will be ready to be shared with your other devices.
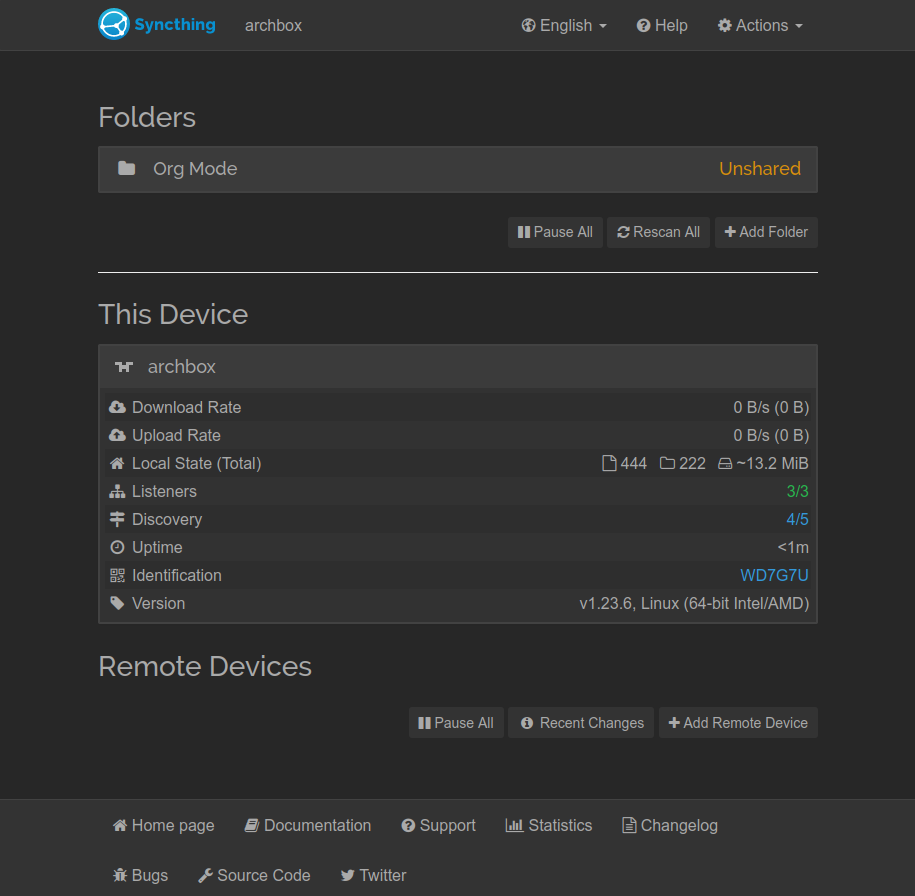
Figure 2: Org folder ready for sharing and synchronizing.
Adding a new device can be done from either syncthing client, I chose to add
my Linux host from my Android device as I could then easily scan the QR code
provided. The device’s ID and QR code can be found under Actions->Show ID.
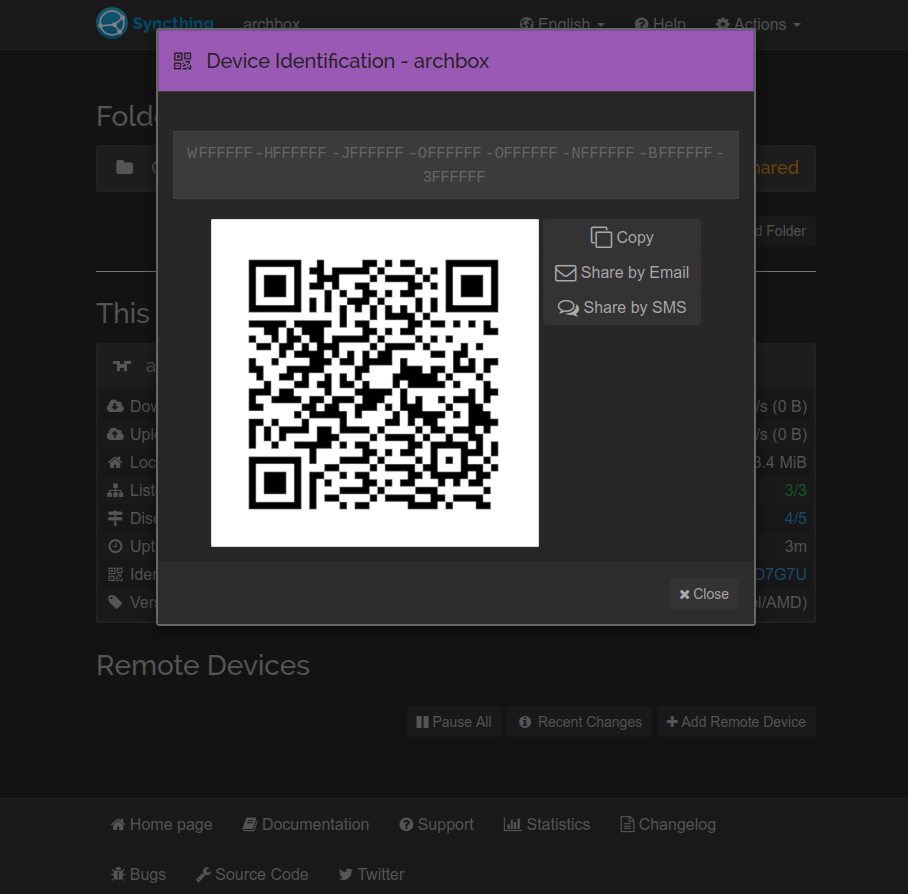
Figure 3: QR code to identify your device
To add a device from the Android client, navigate to the Devices tab and then
press the + in the top right. From there simply scan the QR code displayed by
your host.
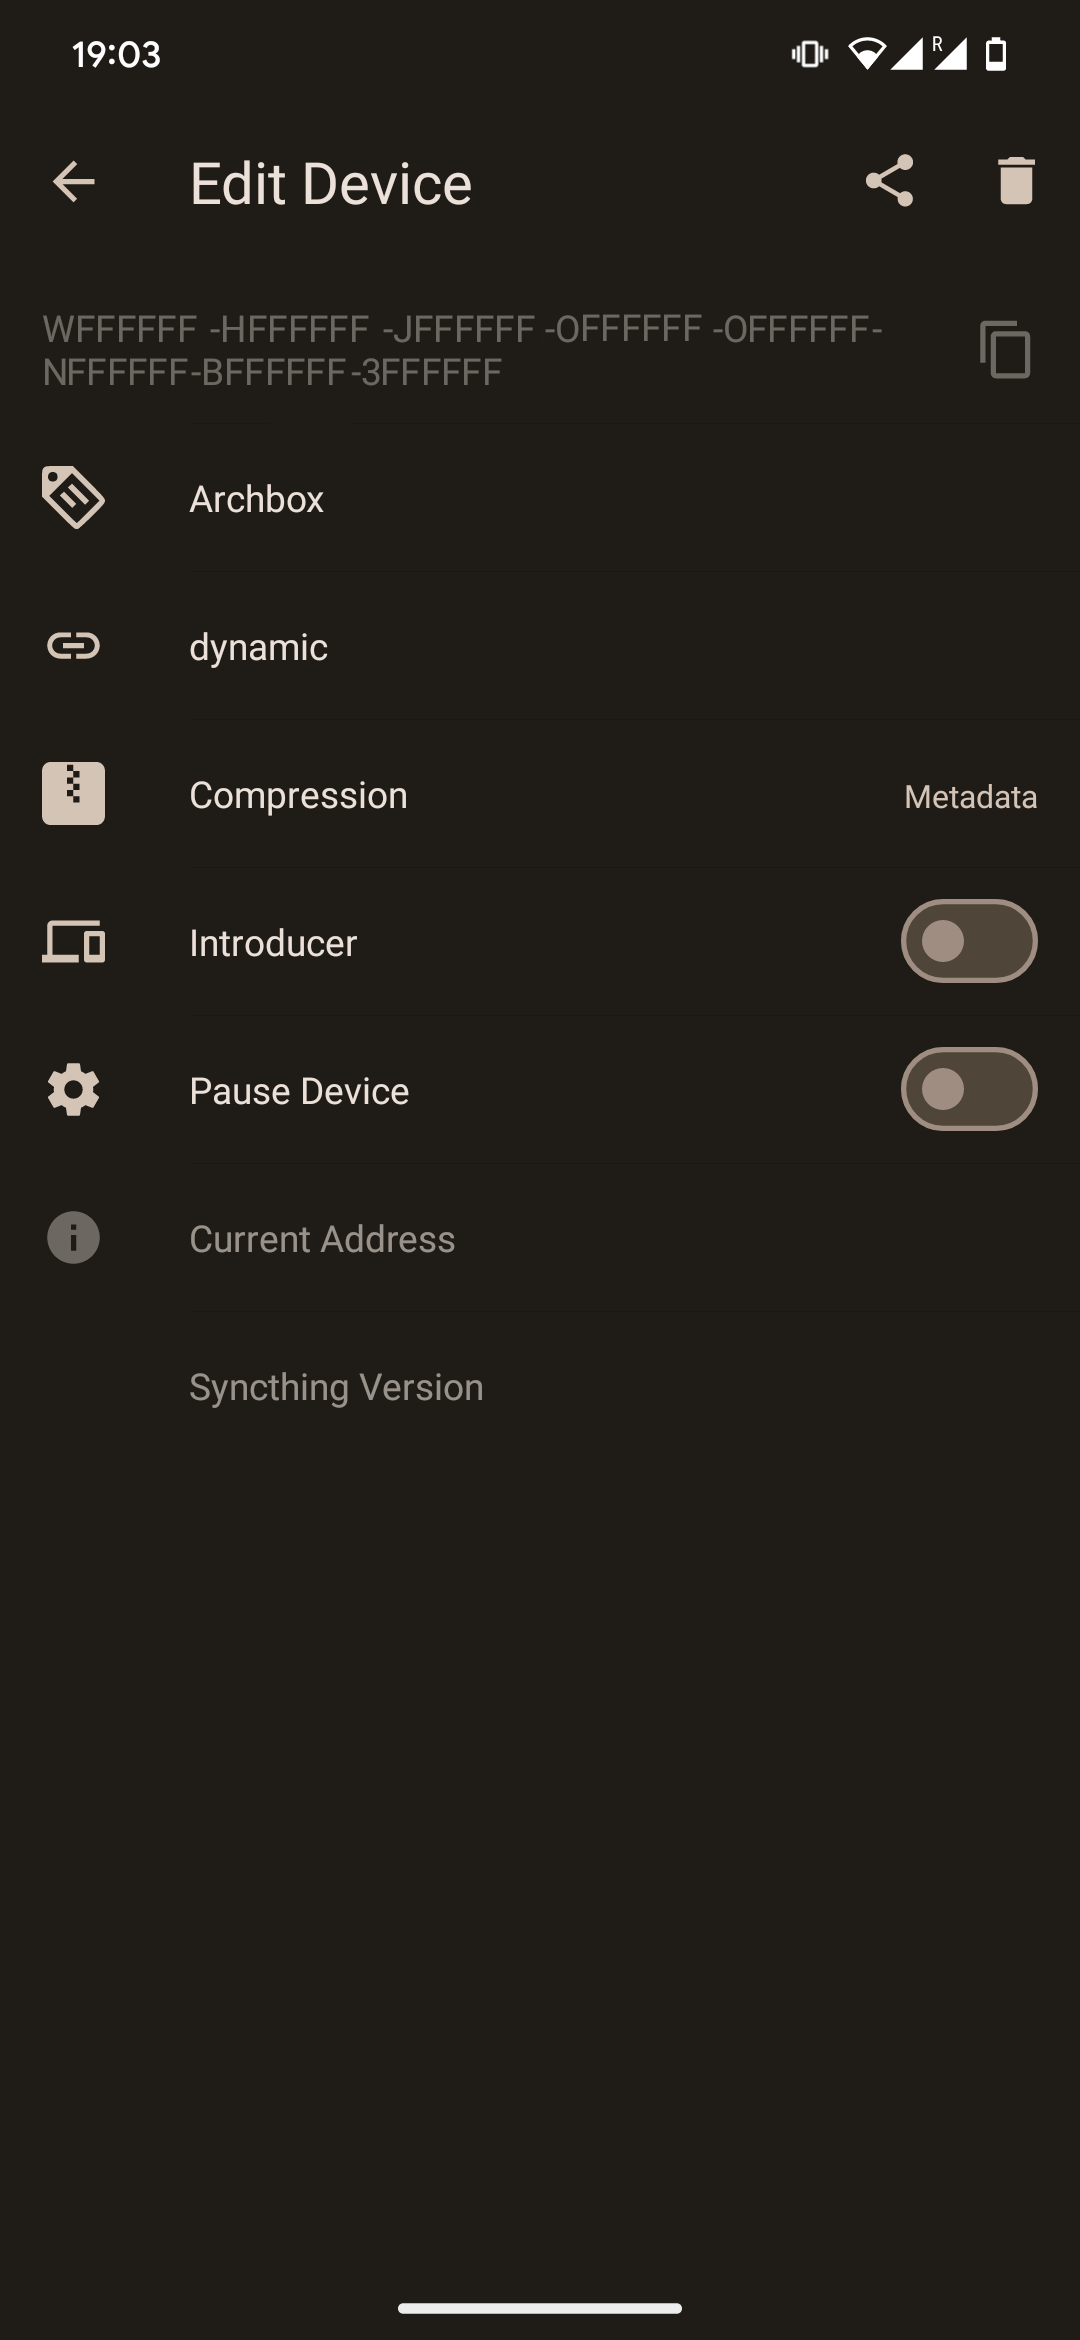
Figure 4: Add device on syncthing android by scanning the host QR code.
After adding the device a popup will be displayed on host prompting you to add it. Accept the request and optionally provide the device a name.
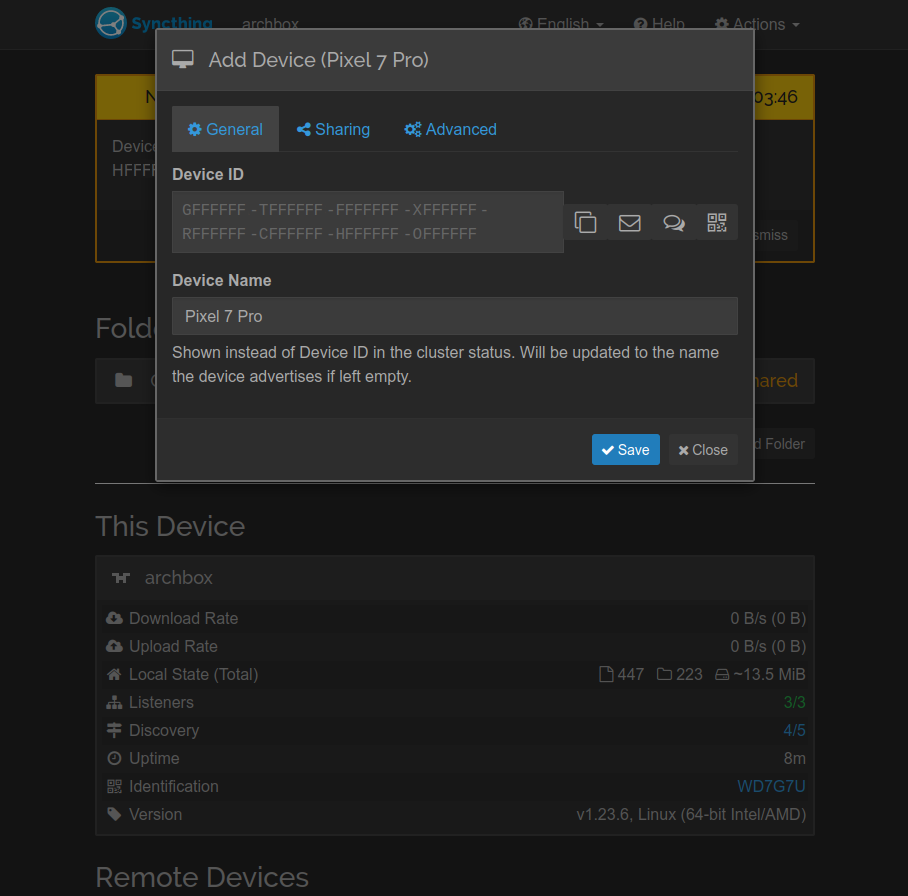
Figure 5: Add new device on syncthing host.
Once the device has been added you can share your org folder with it. To do
this, Edit the folder, navigate to the Sharing tab and check the desired
device(s).
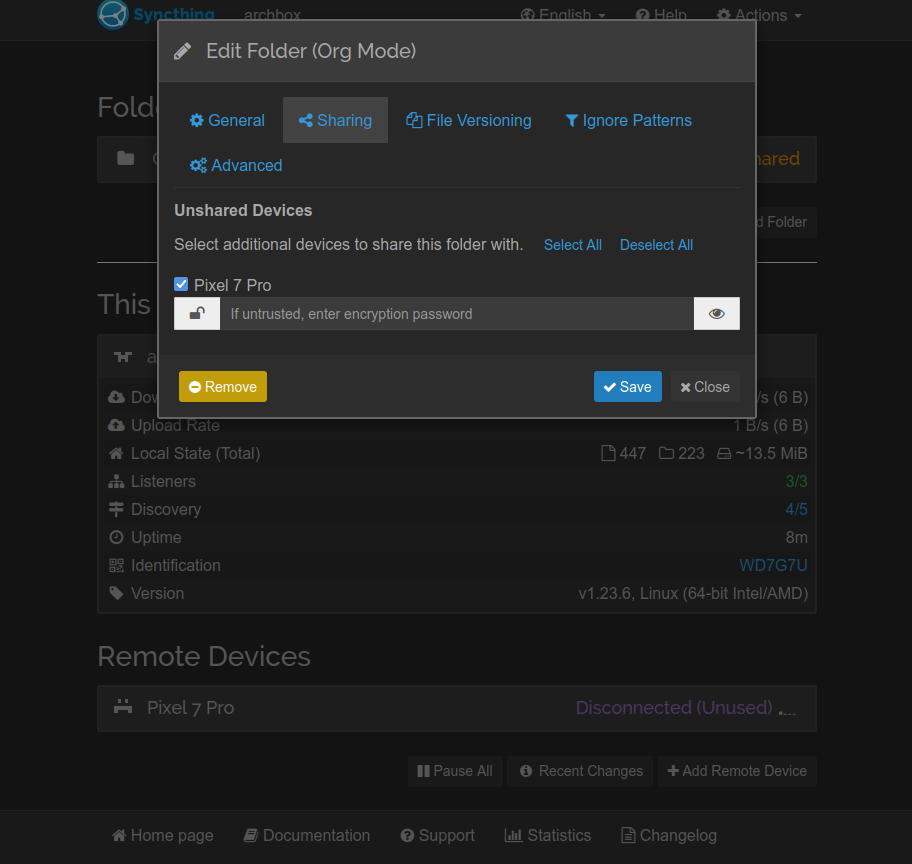
Figure 6: Share folder with newly added device.
Upon saving, you’ll receive a notification of any added devices prompting you
to accept or ignore the new share. Select or create a local folder to sync your
.org files to, I created an Org folder in the root directory. Also ensure
that Watch for changes is toggled on.
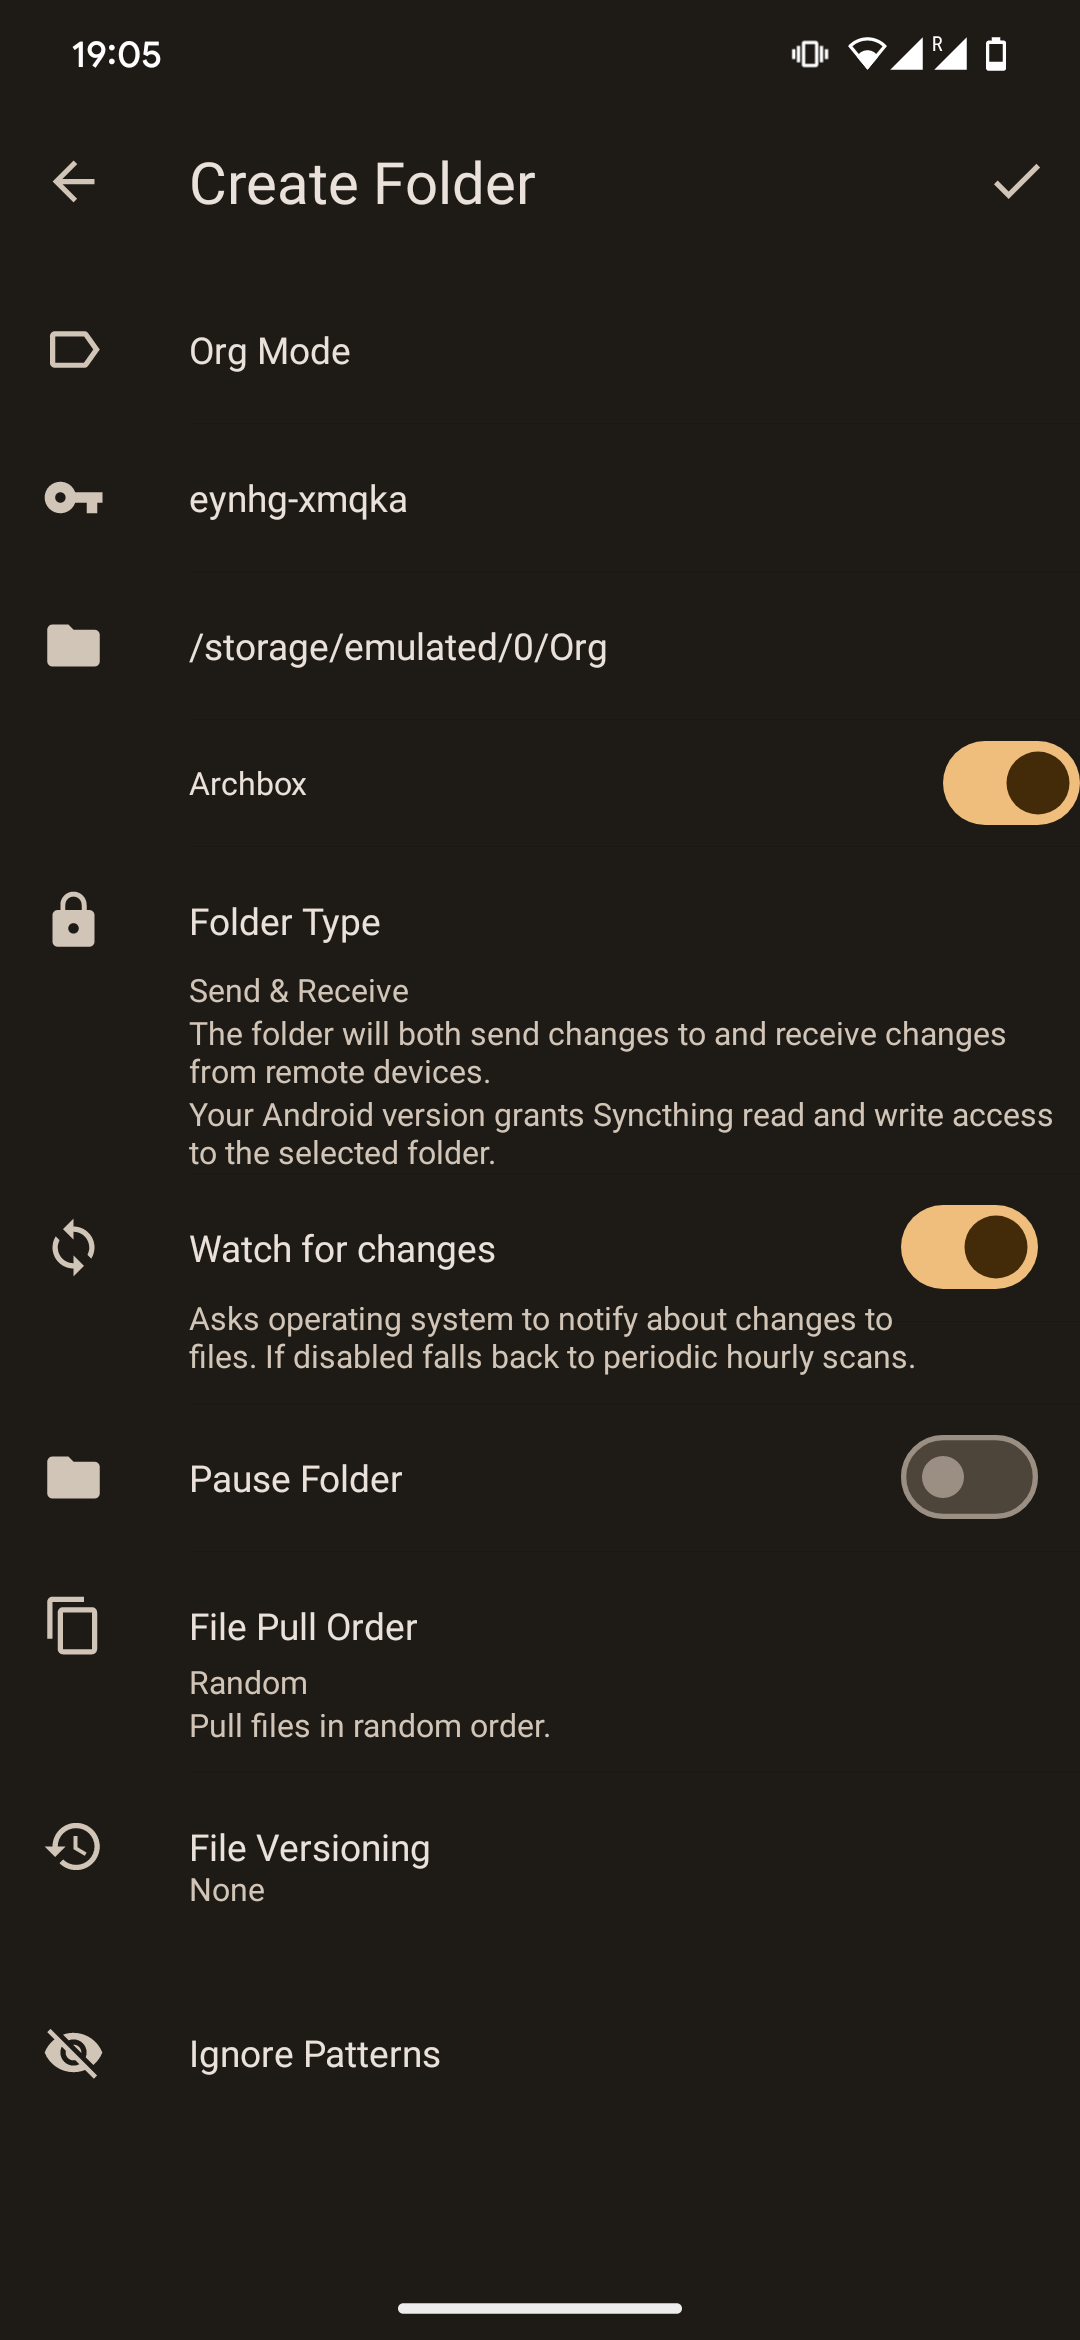
Figure 7: Add the newly shared folder to syncthing.
If everything went well, the syncthing web UI should show both your folders and
added devices as Up to Date.
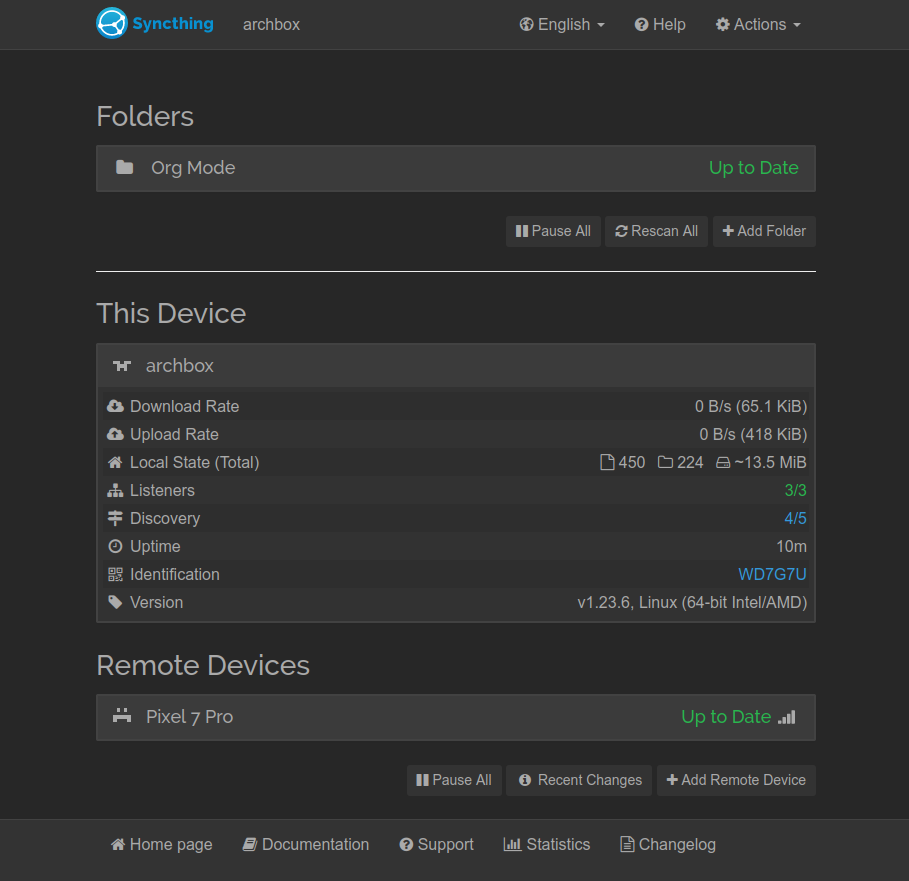
Figure 8: Folder sync complete.
The final step is to link Orgzly to your local Org folder. To do this,
navigate to Settings → Sync → Repositories and then add + a new
Directory repository by browsing to your local Org folder. To sync your
notebooks either enable auto sync or drag down from the Notebook view.
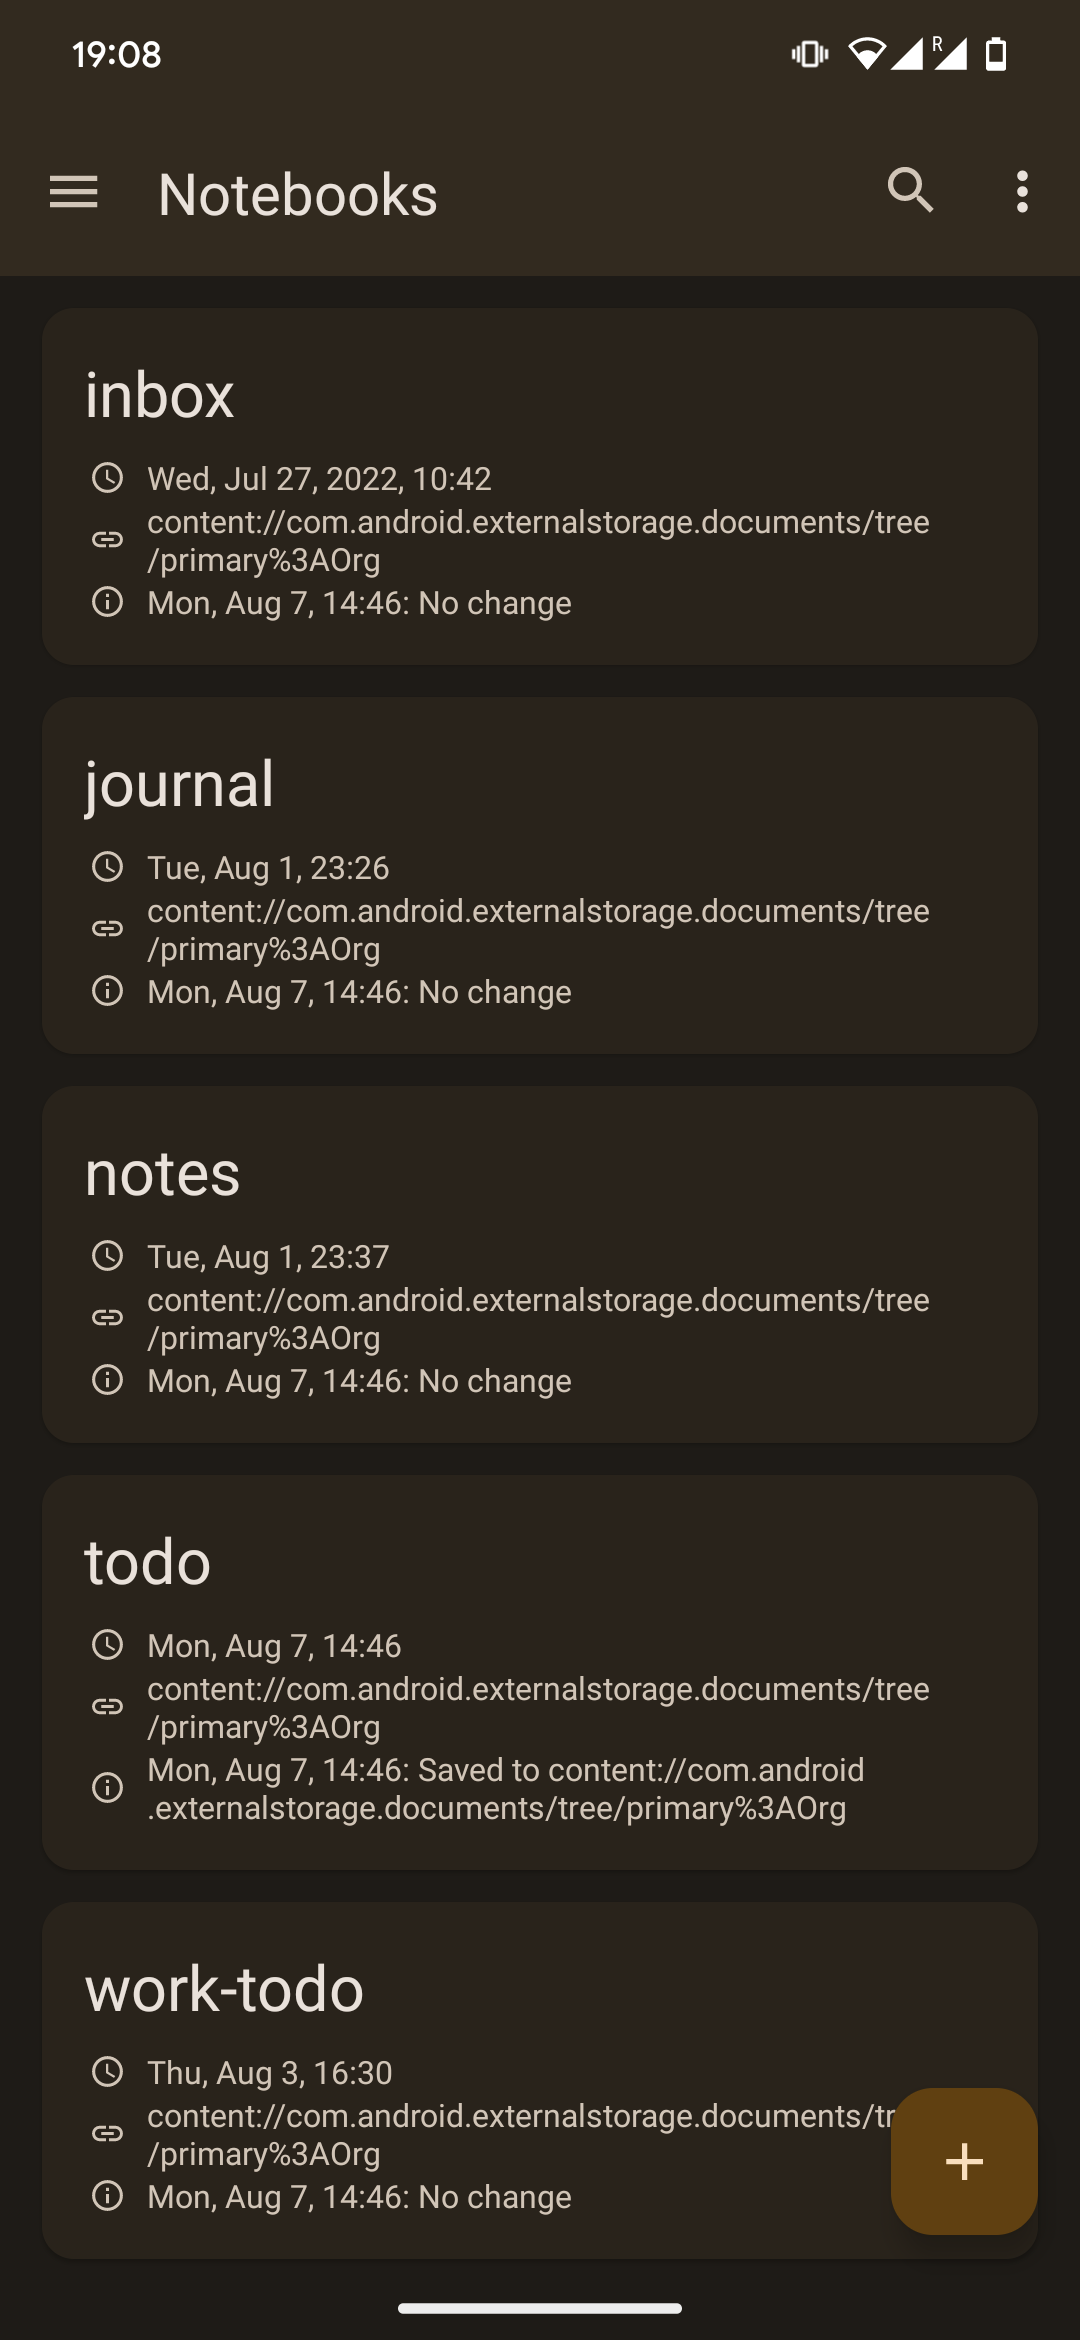
Figure 9: Orgzly notebooks synced correctly.
With that we’re done. Go forth and create, schedule, modify and
complete TODOs or notes from any device - synchronized!